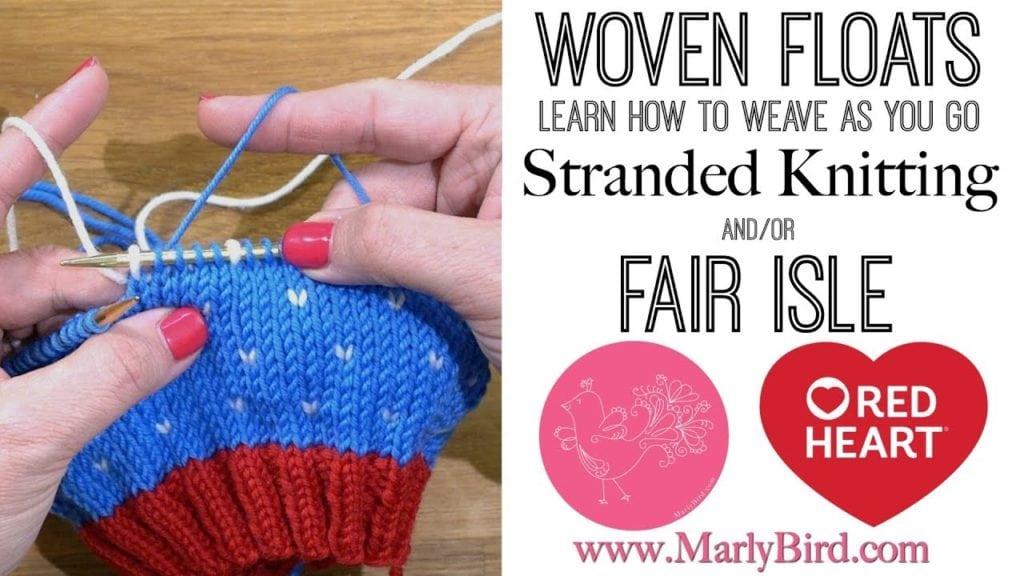
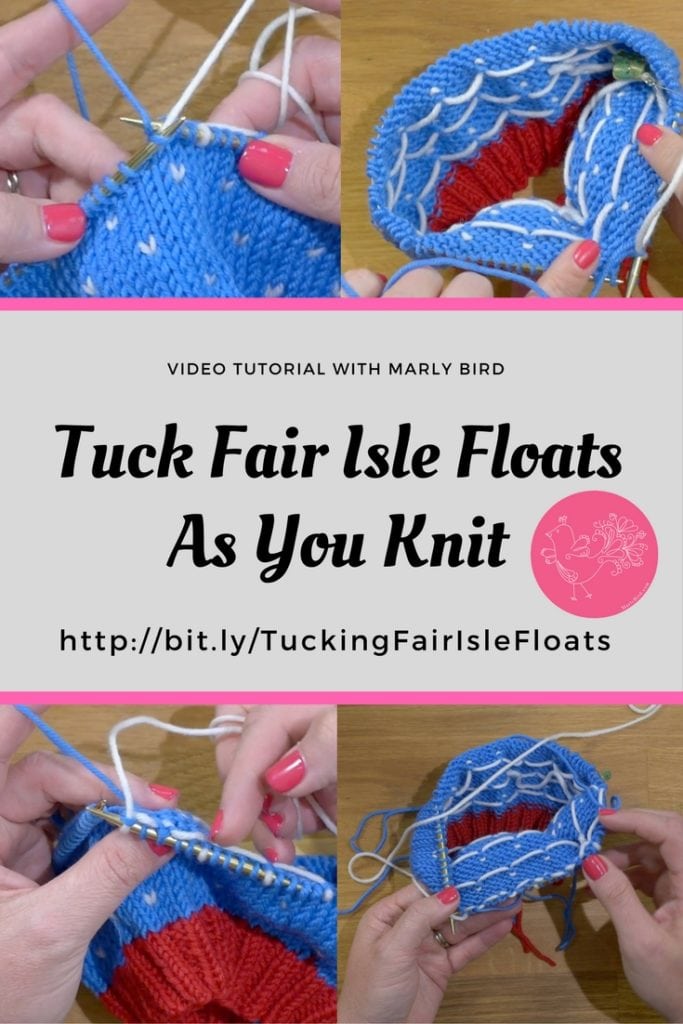
Learn How to Tuck Fair Isle Floats As You Knit
Fair Isle knitting can be tricky on its own, but add in the management of the floats and it takes it to a new level for beginners. In this video tutorial I will teach you how to tuck your fair isle floats as you knit your stranded color work items. Not only will you learn a new technique but you will be able to impress your friends at your next stitch and bitch.
*This post contains affiliate links. By clicking on one of these links and making a purchase a portion of the purchase will go to support the blog. The price you pay does not change. Thank you for your support.*
I know that there is fear about starting the first stranded color work project for some knitters. They worry about changing color and what to do with their floats. In this video I will show you how to keep your floats tidy and weave them in as you work your fair isle pattern. Not only will I show you how to tuck your stranded color work floats when your left hand is your dominant hand but I will also show you when your right hand is dominant.
For this demonstration I am working on the Snow Speckled Hat, a FREE pattern from Red Heart, and using my brand NEW yarn, Chic Sheep, which will be for sale online in November. I also have a full video tutorial show you how to make this hat from start to finish if you want to join me in making it. The Snow Speckled Hat is designed with a 5 stitch repeat. After working 4 stitches in your main color you work 1 stitch in your second color. This leaves a short float, but a float none the less.
Floats can be tricky when the item is going to be something that you wear. Floats that are too long run the risk of getting caught as you put the item on. One way to combat longer floats is to tuck them in as you go. Tucking the floats as you work your fair isle project will make it less likely that they will snag when you ware the finished item. Let me show you how to tame them.
Tucking your Fair Isle Floats:
I prefer to hold my main color in my left hand and my secondary color in my right hand. When working in fair isle knitting I use the continental method with both hands. In the video I will show you how to work this technique using both hands. If you are a thrower you can still use this method you will just drop and pick up your colors vs. using both hands.
Since there is a 5 stitch repeat I will knit two stitch in my main color and then tuck my float. I suggest that you tuck your floats every 2-3 stitches depending on how big your repeat is. Tucking your float will look no different on the right side of your work but will keep your wrong side more tidy.
First I will knit 2 stitches. I will tuck my floating yarn on my next stitch and then work my last stitch as a knit. To tuck your yarn you will wrap your needle with the secondary color first then again with the main color. You then drop the secondary color and finish the knit stitch with your primary color. This may be a little confusing to read so be sure to watch the video for a better understanding.
Fair Isle Floats-Weave As You Go Video Tutorial:
Try Your Hand At Tucking Floats:
Try out this technique with the Snow Speckled Hat.
Also on the Blog:
- Eye-Catching Free Knit Hat Pattern: Honeycomb Cable Stitch and Fair Isle Techniques
- Add a Latvian Braid to a Fair Isle Knit Hat for Beautiful Finish (Free Knitting Pattern)
- This or That: Fair Isle and Nordic Knit Sweater Patterns with Complete Video Tutorials
Frequently Asked Questions
What are floats in Fair Isle knitting and why do they matter?
Floats are the strands of yarn carried across the back of the work when you’re knitting with a color that isn’t currently in use. In stranded colorwork, you use two or more colors per round but only knit with each color when the chart calls for it… the other color travels across the back as a float. If floats get too long, they can snag, pull the fabric, or feel uncomfortable inside a garment. Managing your floats properly is one of the key skills for comfortable, beautiful colorwork knitting.
What is “tucking” a float and when should I do it?
Tucking (also called catching or trapping) a float means catching the unused yarn strand behind a stitch as you knit, anchoring it to the wrong side of the fabric so it doesn’t dangle loosely. This is recommended when a float would be more than about 5 stitches (roughly 1 inch) long without being worked. Uncaught long floats can catch on fingers when putting on the garment, create uneven tension, and make the wrong side of the fabric look messy. Regular tucking every 4-5 stitches creates a cleaner, more professional colorwork fabric.
How do I tuck a float without it showing on the right side?
The technique requires a little practice but isn’t difficult! As you’re about to work a stitch with your active color, bring the float yarn up OVER your active working yarn, then work the stitch normally. The float gets trapped behind the stitch without being knitted into it. The float should pass over the working yarn, not get looped around the needle… if it gets looped, it might show as an extra bump on the right side. Consistent technique keeps the floats invisible from the front while keeping them neat and secure on the back.
Does tucking affect the colorwork pattern?
When done correctly, tucking should be invisible from the right side! The tuck catches the float behind an existing stitch without adding a new stitch or changing the color. If you can see the tuck yarn on the right side, you’re accidentally looping it around the needle… adjust your technique. Many experienced colorwork knitters can tuck floats automatically without thinking about it once they’ve internalized the motion. Video tutorials are extremely helpful for learning this… it’s one of those techniques where seeing it in motion makes it click instantly.
Are tucked floats the same as woven-in floats?
They’re related but slightly different! Tucking catches the float by passing it behind a stitch. Weaving (also called stranding) involves actually looping the float yarn around the working yarn with each stitch… creating a more locked-in but also slightly more visible effect on the wrong side. Tucking every 4-5 stitches is the most common approach for most colorwork projects. Weaving every stitch creates a denser wrong side and is sometimes preferred for very long color sections. Both are valid techniques with different trade-offs in fabric density and float management.