
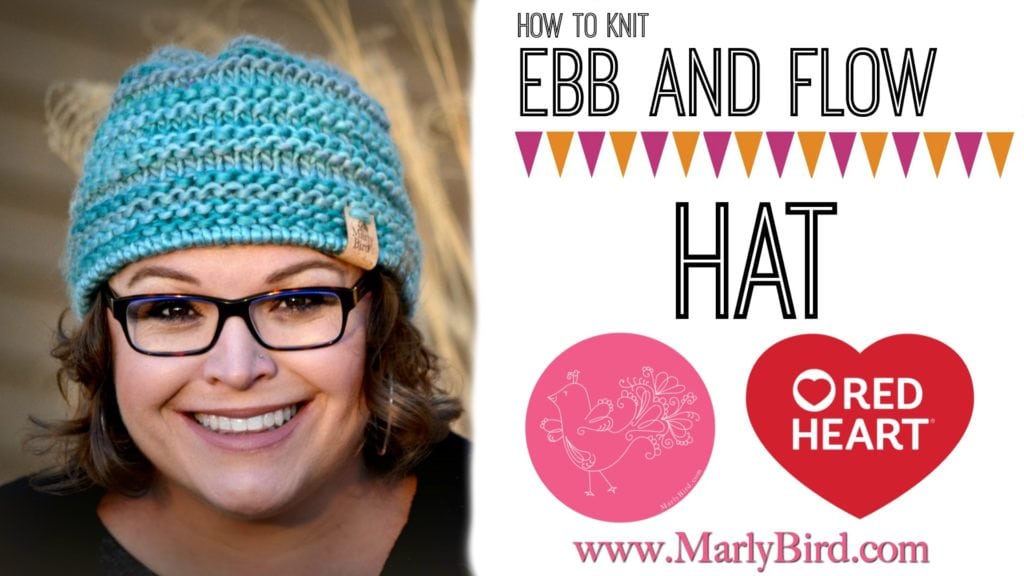
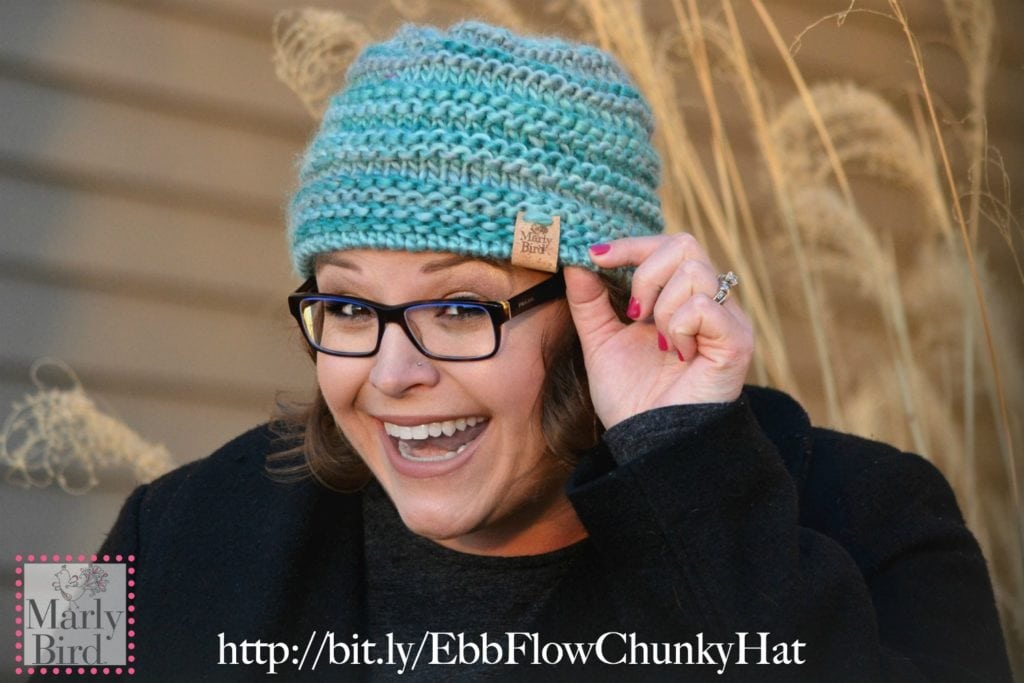
Ebb and Flow Chunky Knit Hat
The Free Pattern for the Ebb and Flow Chunky Knit Hat comes with full instructions for child and adult sizes as well as a complete step-by-step video tutorial. Perfect winter accessory and easy enough for an advanced beginner knitter or experienced knitter alike.
*This post contains affiliate links. By clicking one of the links and making a purchase a small portion will go to support the blog. The price that you pay is not changed. Thank you for your support of the blog.*
Sometimes I just get the urge to pick up my needles and just start knitting without any plan or pattern. Usually, I use a yarn that is ‘calling to me’ either because of the fiber or the color. As I was sitting at my desk, gazing at the shelf of yarn on the other side of my computer screen I couldn’t take my eyes off the beautiful colors of the Evermore yarn by Red Heart. After putting it off for at least a week, I finally gave in and grabbed my needles and a ball of yarn.
As I started knitting basic stockinette I decided I wanted to play around with an altered picot cast on that looks a little like a tubular cast on without being as fiddly (Don’t worry, I show how to do this in the video). Once I did that I decided I would knit a hat. The hat was to be knit flat and made super easy so that advanced beginners and experienced knitters alike could make it without having to pull out the double pointed needles to finish it off.
After about 2 hours of knitting, the Ebb and Flow Chunky Knit hat was born. Cute, Simple, and Quick, this pattern is great.
I liked the hat so much I asked my Facebook group if they wanted the pattern and the answer was overwhelmingly YES! The pattern comes in several sizes and in an attempt to make sure all knitters would be able to keep track of the rows no matter how tired or stressed, I wrote each row in a line-by-line spreadsheet.
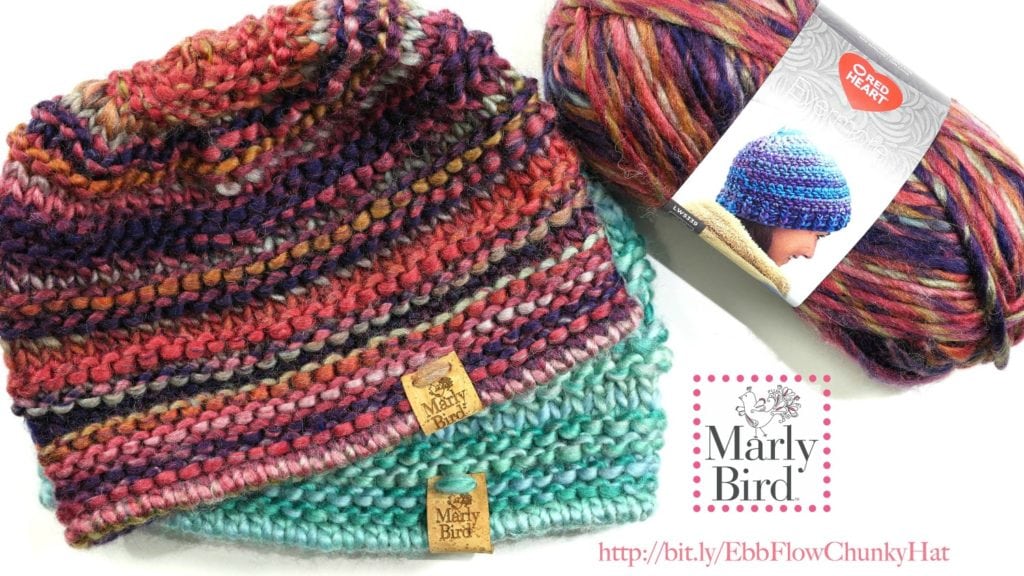
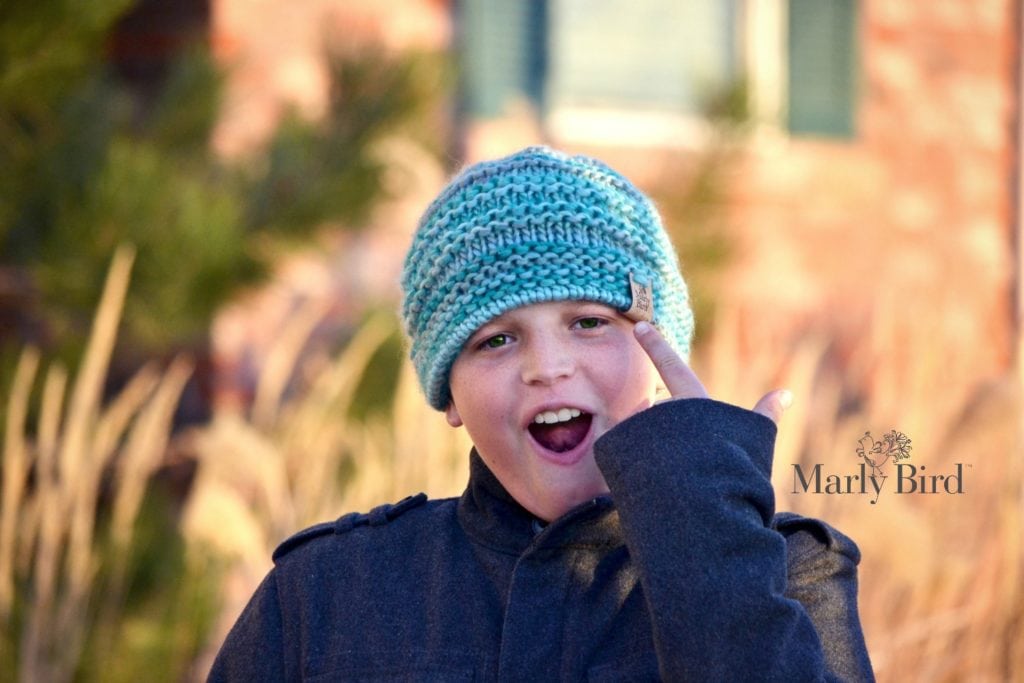
Anyway, below you will find the pattern, pictures of the sample hats I made (adult size Medium), and I did a step-by-step video tutorial, because what could be more help to a knitter than a video? By the way, have you subscribed to my YouTube Channel yet?
 So there you have it, now you know how this pattern came to be part of the many free patterns offered here at MarlyBird.com. I hope you find the pattern easy, the video helpful, and the finished product to your liking. Please share with me the hats you make with this pattern, as I would love to see them. Tag me on social media #MarlyBird.
Queue it up and Like the Pattern on Ravelry
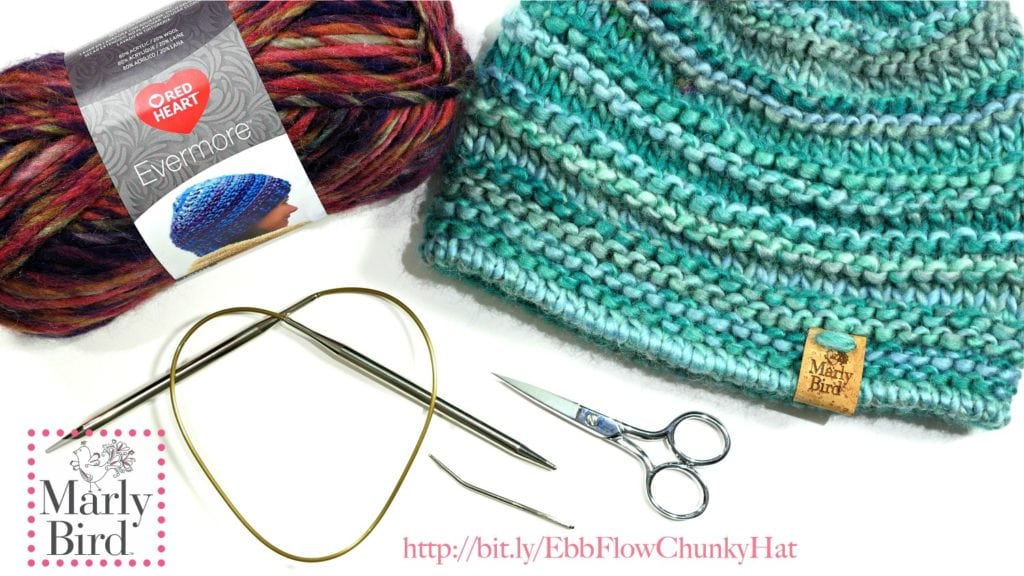
Free Ebb and Flow Chunky Knit Hat Materials
- RED HEART® Evermore™: 1 (1, 1, 1, 2) balls 9932 Cabana
- sample size shown is adult Medium
- Red Heart Knitting Needles: 6.5 mm [US 10.5] (suggest using a 24 inch circular needles as straight needles to accommodate the number of stitches)
- Bent Tip Yarn needle
- Good pair of scissors
- Optional: Susan Bates Pom Pom Maker
- Optional: Aunt Lydia’s Cotton Thread
Free Ebb and Flow Chunky Knit Hat Gauge
GAUGE is the measurement of the stitches and rows after you knit them. Getting gauge means that you are getting the same numbers per inch as written in the pattern.
Collage yarn: 2.5 sts per inch (per 2.54 cm) in garter stitch. CHECK YOUR GAUGE. Use any size hook to obtain the gauge.
It is important that you get gauge if your hat is to fit the size you are making.
Free Ebb and Flow Chunky Knit Hat Sizes
Here is a handy chart to help you choose the size you want to make. In the pattern the sizes are written as toddler (kids, adult S, adult M, adult L) so be sure to follow the numbers for the size you are making.
To Fit Size Toddler Kids Adult Small Adult Medium Adult Large Finished Head Circumference Inches 17.6 19.2 20.8 22.4 24 Finished Head Circumference cm 47 51 53.5 58.5 60.96
Pattern Notes
- The hat is made flat then seamed up to close
- When knitting every row, that is called garter stitch
- When counting rows of garter stitch, it takes 2 rows to create each ridge
- Be sure to weave in tails securely at the end of the project
- Optional: Use cotton thread to seam the top of the hat closed and for securing the pom pom to the top of the hat
Abbreviations
Special Techniques Videos for Reference
Marly and Marly’s Mom Learn to Knit Videos
Clover Pom Pom Maker (see note in variations section)
Free Ebb and Flow Chunky Knit Hat Pattern
Click Here for Row by Row Spreadsheet
Body of hat
Cast on 44 (48, 52, 56, 60) sts using Long Tail Cast On
BEGINNER TIP: there are many different cast on methods for knitting. I recommend to do a long tail cast on.
Row 1 (WS): Purl all the stitches.
BEGINNER TIP: when starting the next row, be sure that you do NOT pull up the stitch from the row below in an attempt to tighten the last stitch. Doing so will make it look like you have two stitches. It is best to make sure you see the purl bump of the stitch you are about to work into. If you need a more visual representation of what I mean, take a look at this video I did for the Easy and Quick Absolute Beginner Chunky Scarf.
Row 2 (RS): Knit all the stitches.
Row 3 (WS): Purl all the stitches.
Row 4 (RS): Fold the fabric in half bringing the cast on edge next to the needle. Knit together the stitch on the needle with the corresponding stitch on the cast on edge. This will create the beautiful cast on edge that resembles a tubular cast on but works better with a bulky yarn.
Rows 5, 7, 9, 11 (WS): Knit all the stitches.
Rows 6, 8, 10, 12 (RS): Knit all the stitches.
Row 13 (WS): Purl all the stitches.
Row 14, 16, 18 (RS): Knit all the stitches.
Row 15, 17 (WS): Knit all the stitches.
Row 19 (WS): Purl all the stitches.
Row 20, 22, 24 (RS): Knit all the stitches.
Row 21, 23 (WS): Knit all the stitches.
Row 25 (WS): Purl all the stitches.
Row 26, 28, 30 (RS): Knit all the stitches.
Row 27, 29 (WS): Knit all the stitches.
Row 31 (WS): Purl all the stitches.
Row 32, 34 (RS): Knit all the stitches.
Row 33, 35 (WS): Knit all the stitches.
Ebb and Flow Chunky Hat Crown
Row 36 (RS): *Knit 1, K2togtbl, K1; repeat from * to end–33 (36, 39, 42, 45) sts remain.
Row 37 (WS): Purl all the stitches.
Row 38 (RS): *Knit 1, K2togtbl; repeat from * to end–22 (24, 26, 28, 30) sts remain.
Row 39 (WS): Knit all the stitches.
Row 40 (RS): *K2togtbl; repeat from * to end–11 (12, 13, 14, 15) sts remain.
Row 41 (WS): Knit all the stitches.
sizes — (kids, –, adult M, –) only
Row 42 (RS): *K2togtbl; repeat from * to end– — (6, –, 7, –) sts remain.
sizes toddler (–, adult S, –, adult L) only
Row 42 (RS): Knit 1, *K2togtbl; repeat from * to end– 6 (–, 7, –, 8) sts remain.
All sizes
Row 43 (WS): Purl all the stitches.
Finishing
All the stitches are stitched and it is time to secure them.
- Cut the yarn leaving a length that is 3 times the height of the hat.
- Thread the tail onto a bent tip tapestry needle.
- Working into each stitch individually, put the tapestry needle into the stitch as if you were going to knit it, then pull the yarn through that stitch.
- Let the stitch fall off the needle.
- Repeat steps 3 and 4 until all stitches have yarn thread through them.
- Pull the tail like a draw string really tight.
- On the wrong side of the hat, weave in the tail by drawing through all the stitches again in a figure 8 manner to insure the top of the hat will not come undone.
- Make sure the tail is positioned at the open seam of the hat and proceed to the seaming portion.
Seaming
The fabric of the hat you have made is called garter stitch and stockinette stitch. You get garter stitch by knitting every row (you can also get it if you were to purl every row).
To seam garter stitch with an invisible seam:
- Align the edges that need to be sewn together, with the right side of the fabric facing out.
- Thread your bent tip tapestry needle with the tail of yarn remaining from the top of your hat.
- Starting at the top of the hat, just under where you pulled the top like a drawstring, insert your needle under the horizontal bar between the first and the second stitch on the right edge and pull the yarn through.
- Insert the needle under the corresponding bar on the left edge and pull the yarn through
To seam stockinette stitch with mattress stitch:
- With the right sides facing you, lay the pieces to be sewn flat with edges next to each other, lining up rows and stripes as much as possible.
- Insert the needle between the first and second stitches on the first row.
- Slide the needle under two rows, then bring it back to the front between the first and second stitch of the row.
- Return to the opposite side and, working under two rows throughout,
- Repeat this zig-zag process, always taking the needle under the strands that correspond exactly to the other side and going into the hole that the last stitch on that side came of, being careful not to miss any rows.
Final Finishing
Turn your hat inside out and weave in the tail. Don’t forget to also weave in the starting tail of your hat to the inside also. For added pizzazz, add a Pom Pom! Note: adding a pom pom will require you to have more yarn.
Free Ebb and Flow Chunky Knit Hat Video
As I mentioned earlier, I’ve found that videos help a lot when it comes to understanding what you need to do. So, I’ve created a quick video demonstrating how to make this chunky hat.
Frequently Asked Questions
What kind of yarn do you recommend for the Ebb and Flow Chunky Knit Hat?
Honestly… the yarn I used and absolutely loved was the Red Heart Evermore yarn in the Cabana colorway. It has such beautiful colors and a lovely feel… but you can use any bulky weight yarn that you like for this pattern. Just be sure to check your gauge!
I’m a beginner knitter, can I really make this hat?
Yes! This pattern is perfect for an advanced beginner or even an experienced knitter looking for a quick project. I even made a step-by-step video tutorial to help you out… it covers everything, including a special cast on technique!
How long does it take to knit this hat?
So here’s the thing… I was able to knit this hat in about 2 hours! It’s designed to be quick and easy, perfect for when you just want to pick up your needles and create something lovely without a lot of fuss.
Do I need circular needles for this project?
The pattern suggests using 6.5 mm (US 10.5) circular needles with at least a 24-inch cable… but you’ll be knitting it flat, so you can actually use them like straight needles. This makes it super easy and you won’t need double-pointed needles at all!
I saw labels on your hats… where did you get them?
Oh, thanks for asking! … That’s a great question that a few people have asked. Unfortunately, the page doesn’t mention where I got those specific labels from. I’ll have to remember to share that info in the future!
Categories: Knitting, Our Free Patterns, Pattern, YouTube Video Tutorial


I just read through the instructions, and watched your Ebb and Flow Chunky Knit Hat video. Everything about the instructions and video are fabulous! I especially like the row-by-row spreadsheet as I usually make one for items I attempt to make fron online directions.
I also appreciate these details about the video:
– the video being still (not wiggly)
– the use of a white table surface and contrasting yarn color
– your very clear speaking voice
– your not filling time by using a bunch of ‘small talk’
– your not having long and/or fancy fingernails
– your not saying ‘stocking-net’ for ‘stock-i-net’
I’ll be making my first Ebb and Flow Chunky Knit Hat tomorrow!
Thank you for your expertise and ever-so-cheerful demeanor
Hi Marly! Love your site! I would like to know who you order your product labels from. I’ve been looking into getting them for my goods, but can’t decide.
Thank you
Where did you buy the labels with your name on it that are sewn onto the knit hats?
Just wondering where you got your hat labels with your logo from? They look great!
If I’m reading the pattern info right, it says that there are 6 rows to the inch. Could that be a mistake?
I’ll never be able to get that gauge so I’m assuming an error. Gauge on ball band is spot on. Just a friendly FYI. Thanks for the pattern❤️ Love it