
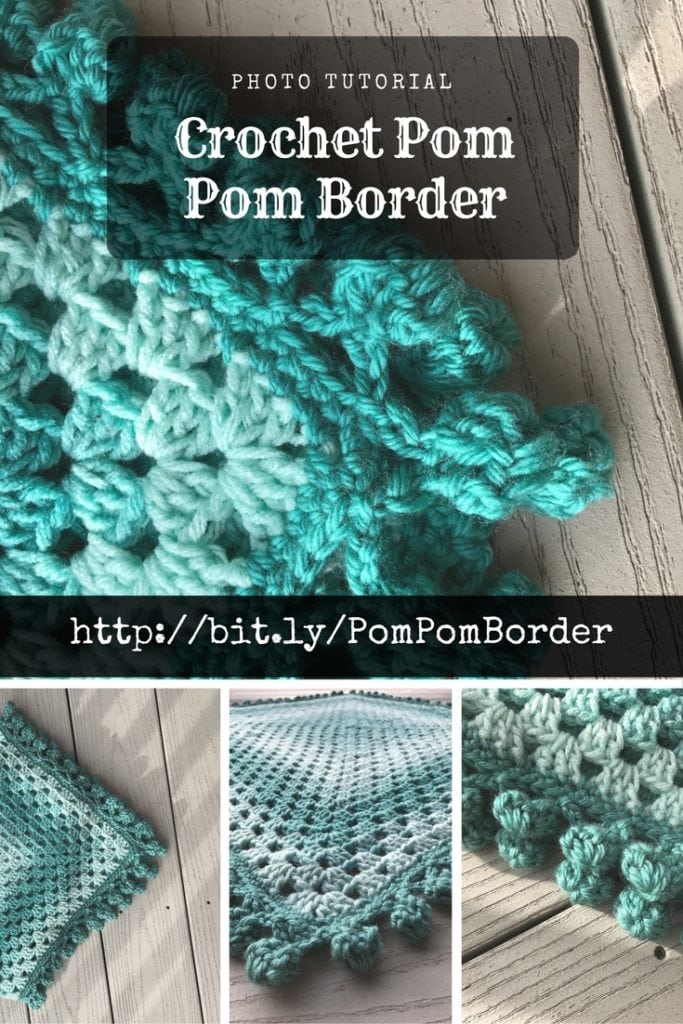
Learn the Crochet Pom Pom Border with a Photo Tutorial
In this photo tutorial you will learn how to add the crochet pom pom border to any of your projects. This border is on trend and a super cute finish to your project.
Pom poms are all the rage right now and you can find the all over. One of the great ways to incorporate pom poms into your next project is to use them as a border. In this photo tutorial I will show you how to add the border to a basic granny square blanket. Make this for your next baby shower gift and impress everyone there.
As you will see in this tutorial the mystery of the pom pom border is that you make two bobbles and join them. Let me show you how.
Crochet Pom Pom Border Tutorial Supplies:
- 1 ball Red Heart Super Saver Ombre (spearmint or color of your choice)
- 1 ball Red Heart Soft (deep sea or coordinating color to main blanket color)
- Size J crochet hook
- Tapestry needle
Making your Blanket
Before adding a border you need a project to add the border to. For this tutorial I made a simple granny square blanket using Red Heart Super Saver Ombre. Using the Ombre yarn gave me the look of changing colors when really the yarn did all the work. To learn how to crochet a granny square you can watch my video tutorial on my YouTube channel.
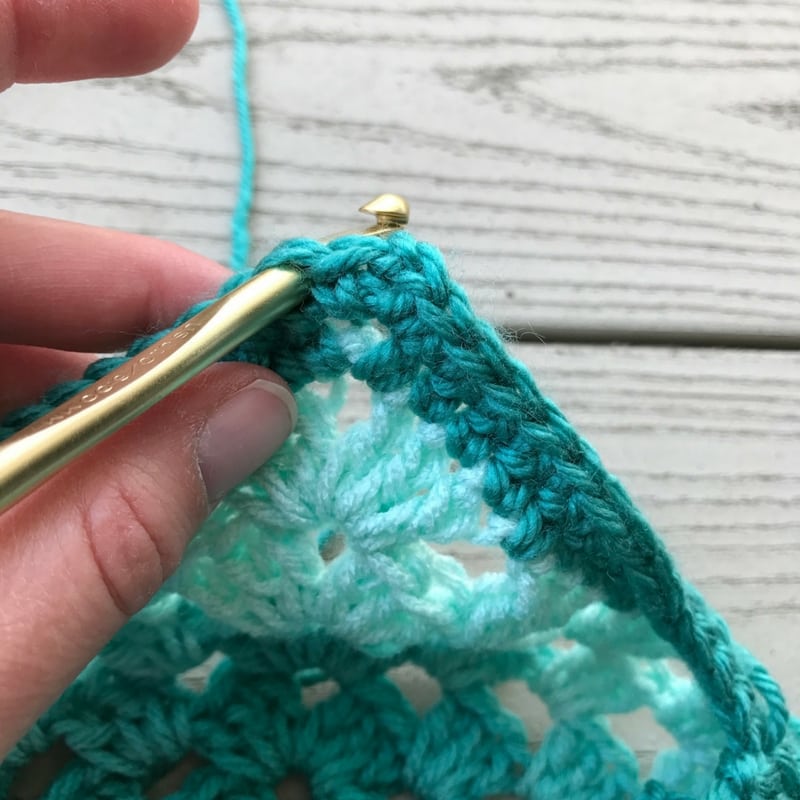
After finishing the granny square I added two rows of single crochet around the outside of the blanket. I put a single crochet in the top of each double crochet and in each chain 1 space. In the corner I worked a single crochet, chain 2, single crochet. These two rows give me the base to work the board into. You could work the border without these two rows if you like.
Crochet Pom Pom Border
To beginning the border you will need to join your new color with a slip stitch into the second single crochet from the corner.
Once you have joined your yarn you will then chain 6. This will form the connection chain and the start of your bobble.
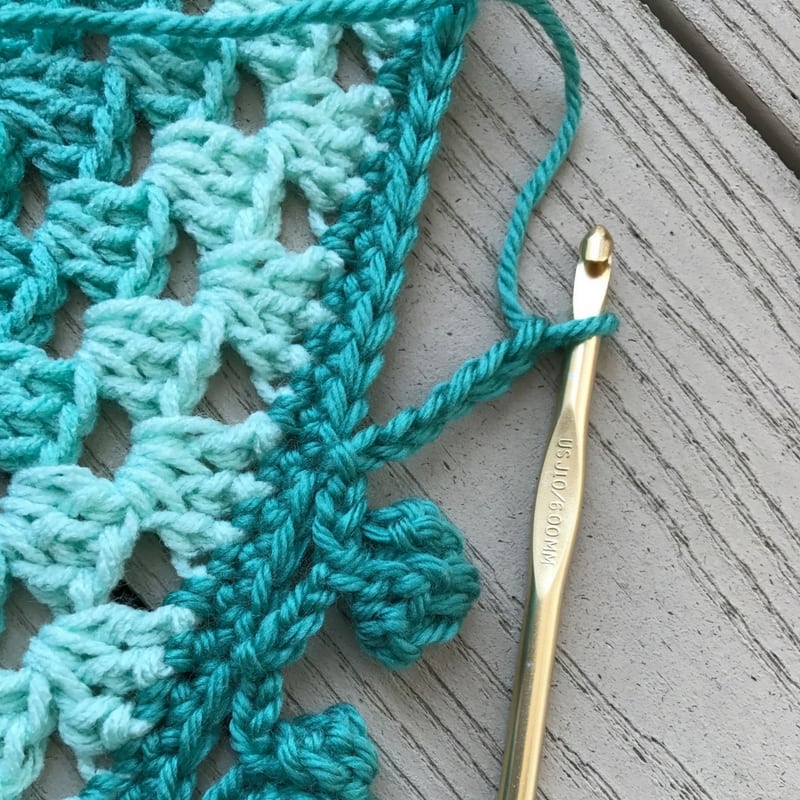
You will then continue making your bobble by working a double crochet 4 together. ([Yarn over, pull up a loop] 4 times, Yarn over pull through all 5 loops on your hook.) This will leave 5 loops on your hook.
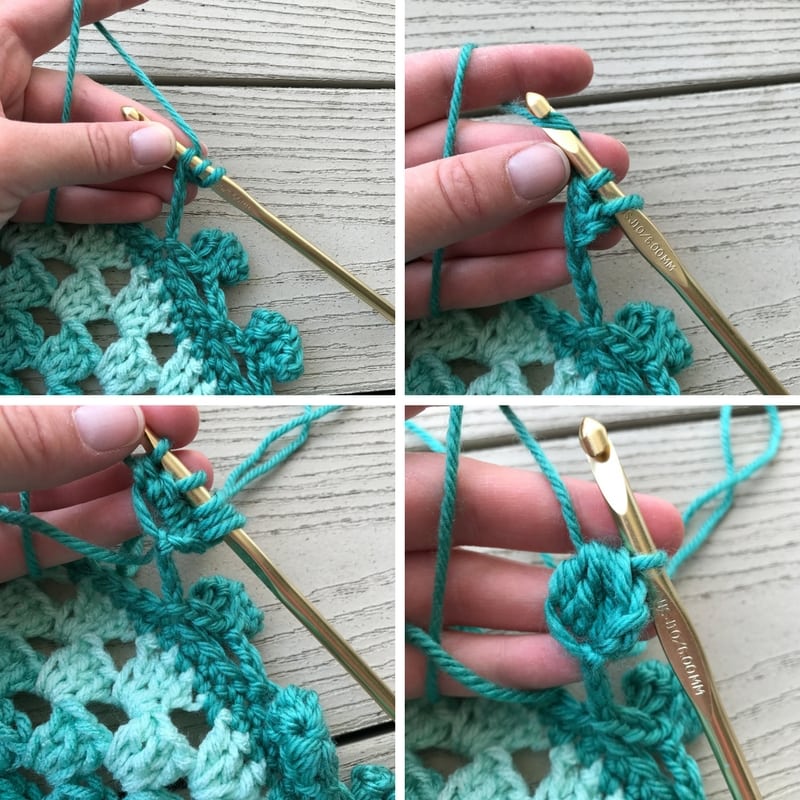
After completing the first part of the bobble you will chain 3 and again double crochet 4 together. As you work the double crochet stitches I suggest that you work thought the full stitch. Otherwise you will notice a larger whole in your bobble.
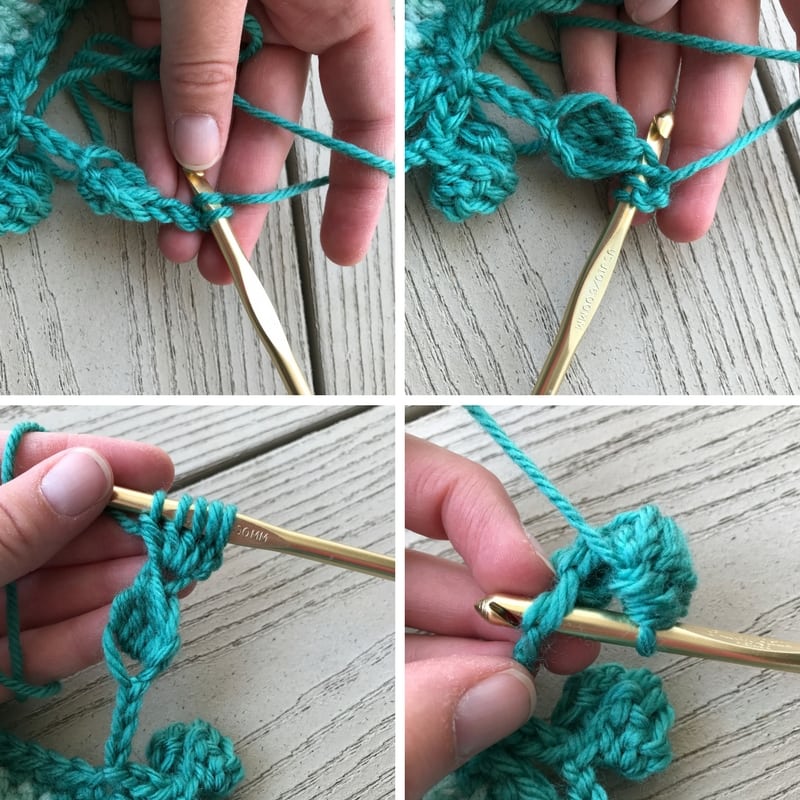
Now it is time to connect the two sides. To do this you will slip stitch into the bottom of the first bobble. I recommend that you work through the full stitch again to make sure that you close any gaps from working 4 double crochet stitches into one stitch.
Your first pom pom is almost complete. You will need to chain 3 and then skip 3 single crochet stitches of the border working a slip stitch into the next stitch.
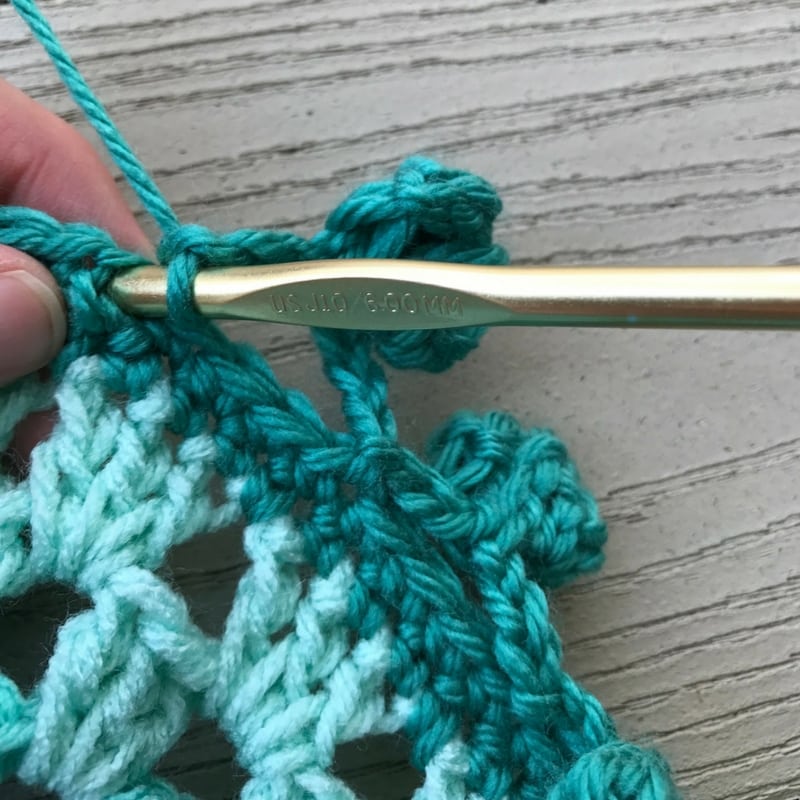
Continue around the entire blanket in this manor joining with a slip stitch when you get back to the beginning. When working around a corner you will follow the same pattern, skipping the stitches around the corner.
![]()
Also on the Blog:
Categories: Crochet, Tips, Tricks, Techniques for Knitting and Crochet


Are there any written instructions for your granny square blanket? If not, how many balls of the Ombre did you use? I love the look of this.
There aren’t any written instructions. I used one ball of Ombre in Spearmint. If you follow my video linked above you will see how I make my granny squares. I just continued around until I didn’t have any more yarn left.
Thank you!